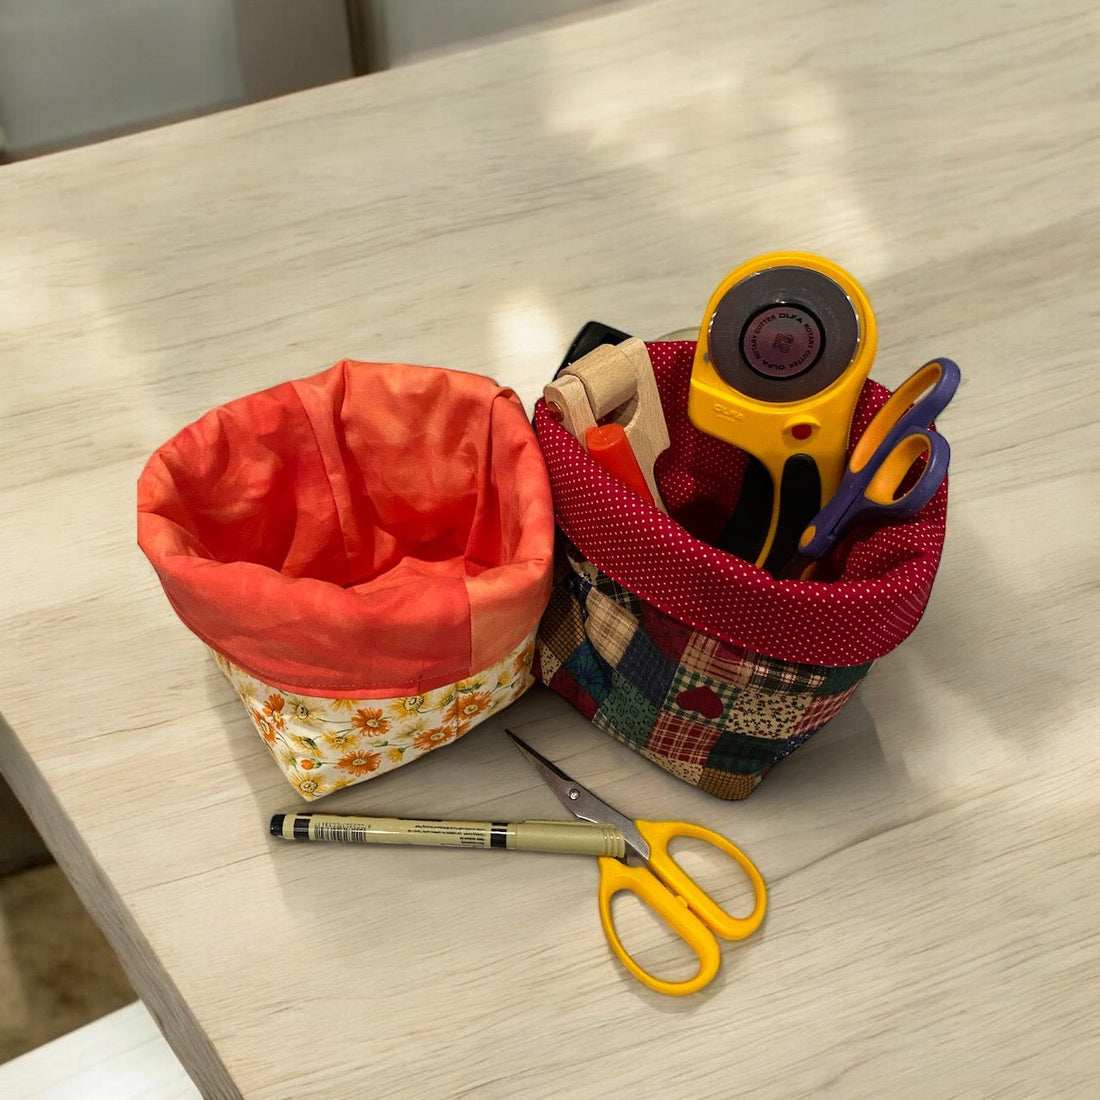
DIY Fabric Bucket Tutorial - Perfect for Your Sewing Room, Desk, or as a Festive Gift
Share
Looking for a quick and charming project? This fabric bucket tutorial will help you make a versatile, reversible fabric bucket that can be used in the sewing room, on your desk, or filled with treats as a holiday gift. Let’s dive into the details!
Materials Needed:
- Two coordinating fabrics (one for the outer fabric and one for the lining)
- Batting
- Ruler, pins, and scissors
- Sewing machine and thread

Step-by-Step Instructions
Step 1: Cut Your Fabric
- Outer Fabric: Cut two pieces of your chosen outer fabric, each measuring 10" x 10".
- Lining Fabric: Cut two pieces of lining fabric, each also measuring 10" x 10".
- Batting: Cut two pieces of batting, each measuring 9.5" x 10". (The smaller size reduces bulk and makes it easier to sew the top edge.)
Step 2: Attach Batting to Outer Fabric
- Lay the batting on the wrong side of each outer fabric piece, leaving a half-inch space at the top. This will be the top edge of your fabric bucket.
- Pin the batting in place to avoid shifting while you sew. Or quilt it with your walking foot, but once the construction is done, it's not going anywhere!

Step 3: Stitch the Outer Bucket
- Place the outer fabric pieces right sides together with the batting showing on the outside.
- Stitch along both side seams and the bottom seam, leaving the top edge open. Use a ¼" seam allowance throughout.
- Repeat this process for the lining fabric pieces, stitching down the sides and bottom but without batting.
Step 4: Create the Bucket Shape
- Using a ruler, measure a 2.5" square from each bottom corner of the stitched outer bucket piece. Cut out the squares.
- Repeat for the lining fabric.


Step 5: Sew the Corners
- To give the bucket its shape, fold each corner of the outer bucket, aligning the side and bottom seams together to form a straight line. Nest the seams together for a neat finish.
- Stitch the corner closed.
- Repeat this step for the lining fabric.

Step 6: Fold and Pin the Top Edges
- On the outer bucket, fold the half-inch of fabric at the top edge over the batting. This is why the batting was cut slightly smaller, allowing the top edge to fold smoothly.
- Pin this fold in place.
- Do the same for the lining, folding over a half-inch at the top and pinning.

Step 7: Assemble the Bucket
- Place the lining inside the outer bucket with the wrong sides together.
- Align the corner seams of the lining and the outer bucket, and pin to keep the two layers together.
- Stitch the corners together to keep the lining from popping out. This step also makes the bucket reversible.

Step 8: Finish with a Top Stitch
- Align the side seams of the outer and lining fabrics and pin.
- Topstitch along the top edge of the bucket to secure the lining and outer fabric, creating a polished, finished look.

Enjoy Your Finished Fabric Bucket!
This bucket is now ready to hold your sewing supplies, organize your desk, or be filled with goodies as a handmade holiday gift. It’s quick, functional, and perfect for using up fabric scraps!
Happy Sewing!

