DIY Fabric Notebook Cover – A Quick & Easy Quilting Project
Are you looking for a fun, fast, and fabric-friendly project to use up your stash? A fabric notebook cover is the perfect solution! Whether you're a beginner quilter or a seasoned pro, this quick sewing project can be customized to fit any notebook, journal, or even a lever arch file.
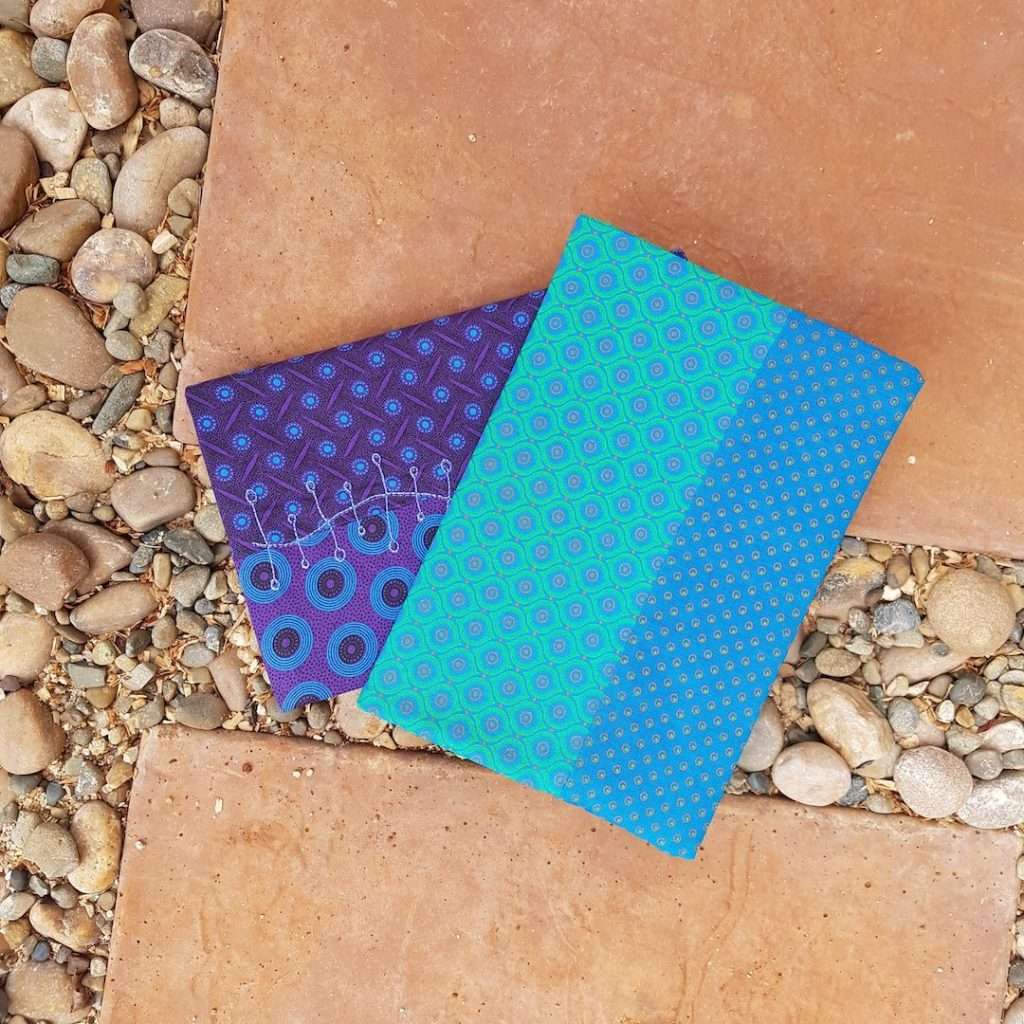
I love having a special notebook cover that reflects my mood or the season, and because they’re washable and reusable, I rotate them regularly—one in the wash, one in the cupboard, and one on the book!
This tutorial will show you how to make a simple quilted notebook cover that’s adjustable, beginner-friendly, and can be embellished however you like.
What You’ll Need
This method works for any notebook of any size, so grab one from your stash and let’s get started.
- Notebook (or a lever arch file)
- Fabric – You’ll need fabric for both the cover and the lining, plus extra for the slip pockets. For an A5 notebook, two fat quarters will be plenty. If you're covering a bigger book, just increase your fabric accordingly.
- Thread – Pick a matching or contrasting thread for a decorative touch.
- Embroidery or decorative stitching – If you love adding extra flair, use your sewing machine’s built-in stitches or add a hand-stitched touch.
- Embellishments – Buttons, ribbon, yo-yos, or anything to make your cover uniquely yours.
How to Measure for a Perfect Fit
Since this is a custom-fit fabric cover, proper measuring is key.
-
Measure the width of your notebook, including the spine, and add 8 inches for the slip pockets.

-
Measure the height of your notebook and add 1 inch to allow for seam allowances.

- Use a ½-inch seam allowance throughout.
If you're covering a lever arch file, add extra width to accommodate the bulkiness of the binder.
Sewing Instructions
Step 1: Prepare Your Fabric
- Cut your outer fabric and lining fabric using your measurements.
- If you’re adding embroidery or decorative stitching, do that now before assembling.

Step 2: Sew the Side Seams
- Place the outer fabric and lining fabric right sides together.

- Stitch along the side seams only (leave the top and bottom open for now).
- Press the seams open to keep everything crisp and neat.

Step 3: Create the Slip Pockets
- Fold your cover around the notebook and press to define the slip pocket fold lines.

- With the right sides together, fold the slip pocket fabric between the layers of the lining and the outer fabric.

- Pin in place to keep everything secure.
Step 4: Stitch the Top and Bottom Seams
- Stitch along the top and bottom seams, but leave a 2-inch opening at the bottom for turning.
- Trim any excess fabric and clip the corners to reduce bulk.

Step 5: Turn and Finish
- Turn the cover right side out through the opening.
- Press well, ensuring crisp edges.
- Use a ladder stitch or topstitch to close the gap.

Now slide your notebook inside, and your handmade, washable, and reusable notebook cover is ready to go.
Make It Your Own
One of the best parts of this project is how customizable it is. You can:
- Patchwork your cover using quilting scraps
- Add hand-stitched details for a rustic touch
- Use batting between the layers to create a quilted notebook cover
This project is simple and fun, and I’d love to see how yours turns out. Leave a comment below and tell me:
- What size notebook are you covering?
- Did you add any fun embellishments?
- Do you have any tips for making it even easier?
Let’s get chatting in the comments and inspire each other with our quilting creativity.
Love This Tutorial? Share It!
If you enjoyed this quick quilting project, share it with your quilting friends and bookmark it for later. Don't forget to sign up for my newsletter to get more fun and beginner-friendly quilting tutorials.
Happy sewing!