Do you EPP?
English Paper Piecing or EPP as most quilters call it, is one of the oldest methods to make a quilt. Back in 18-whenever it was, there wasn’t templates and rulers and rotary cutters. In fact, there was probably only one scissor in the house used for fabric, paper (eeeekkkk!) and leather. Said scissor was used to cut out shapes from paper and then a piece of fabric was carefully attached to it before those shapes were then attached to each other. Most likely in a grandmother’s garden design.
EPP was the chosen method for torturing 15-year-old girls who were in a domestic science class in 1990 through no fault of their own. Those girls weren’t allowed to use a sewing machine, even though electric machines had been around for many years. And the girls knew for a fact that there were those old hand-cranked machines in the storage room.
“You will be doing this by hand. Starting with paper templates today. For your next class you will have fabric according to the requirements on your sheet. And the instruction sheet must be cut out and in your books before next class.”
I knew of one mother who was going to have a few choice words for Ms Scheepers’ untimely fabric requirement. The next class was before the weekend. No going to fabric shops before then. Oh, well. And no sewing machines? Good golly, I’ve been making my own wardrobe for years. Does Ms Scheepers even own a sewing machine? Probably not.
And that was my introduction to EPP. Ms Scheepers didn’t give the technique a name. No, it was just the pillow project. That’s what we made: scatter cushions pieced and quilted by hand. Of course I did cheat. The second I got that thing home it was me and the sewing machine. And I got 100%. “Your stitching is so tidy and even!” All with a little help from Mom’s Elna.
Now, I haven’t done this since then. That is EPP. Are you considering giving it a try?
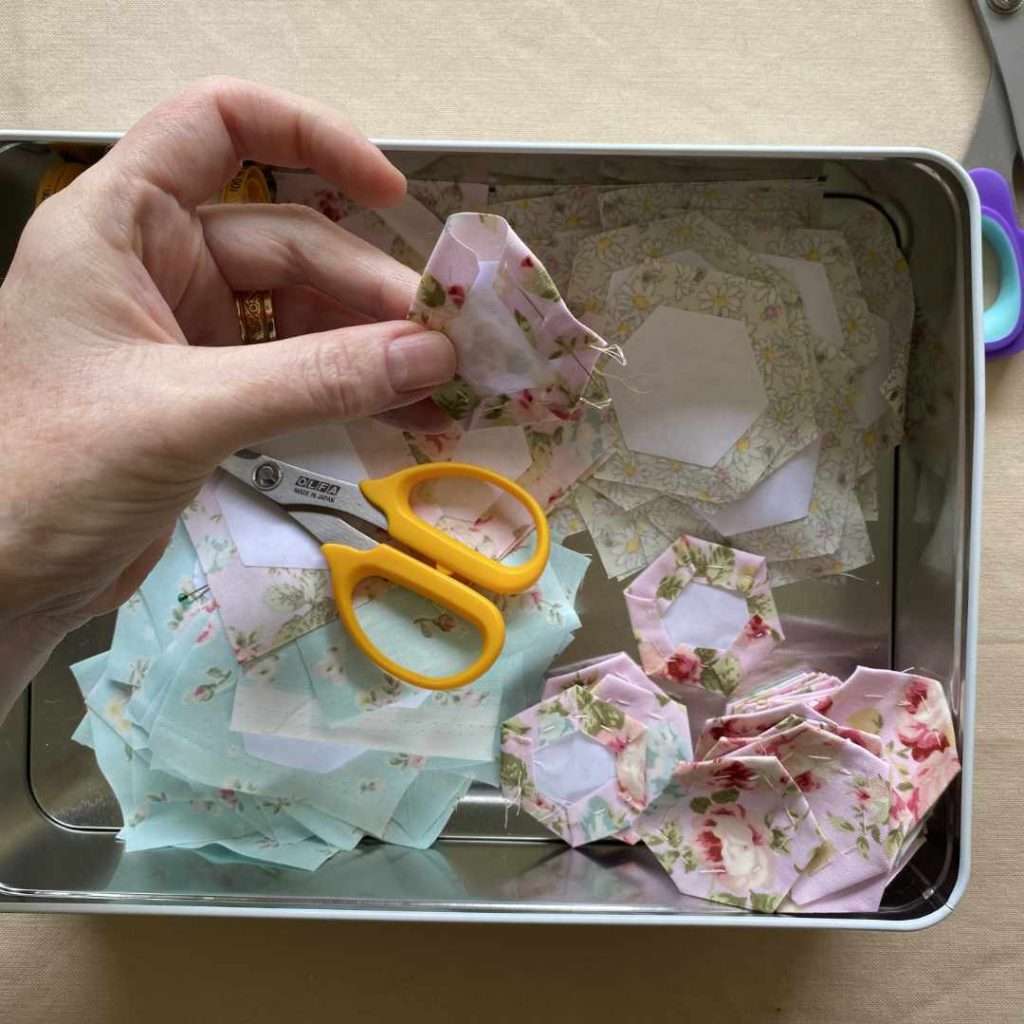
Grab your hexagon template set and join me in my EPP endeavor. It’s probably going to take a year, but it’s sure something to do when there’s no electricity – as long as there is daylight!
- Co-ordinating fabric
- Acrylic templates
- Card stock or freezer paper
- Pins (if you’re using card stock)
- Iron (if you’re using freezer paper)
- Needle and thread
- Basting glue (optional)

I’m using a 3″ template for my EPP.

Trace the inner hexagon to paper for your templates. I’m using cardstock here, but overall I’m using freezer paper.
Freezer paper has the advantage of sticking to the fabric when you press them together. The shiny side should be on the wrong side of the fabric.
If you’re using cardstock, you’ll need a pin to keep it in place on the wrong side of the fabric while you fold the edges over.

Use the outside hexagon to cut the fabric into the necessary size.

Here you can see how the inner hexagon is the perfect size for the paper template, while the outside edge gives you the size for your fabric.
You can use glue to keep the folded edges in place, or you can baste them if you prefer.

Here you can see how the inner hexagon is the perfect size for the paper template, while the outside edge gives you the size for your fabric.
You can use glue to keep the folded edges in place, or you can baste them if you prefer.
The finished size will be the inner hexagon.
When you have all your hexagons complete you arrange them in the pattern that you would like. I’ll keep you up to date on my progress!
