Easy Crafter’s Apron Tutorial – Beginner-Friendly Sewing Project
Looking for a stylish and simple sewing project? This crafter’s apron tutorial is perfect for beginner sewists and makes a thoughtful handmade gift. With bold fabrics and clean lines, this DIY apron comes together quickly.
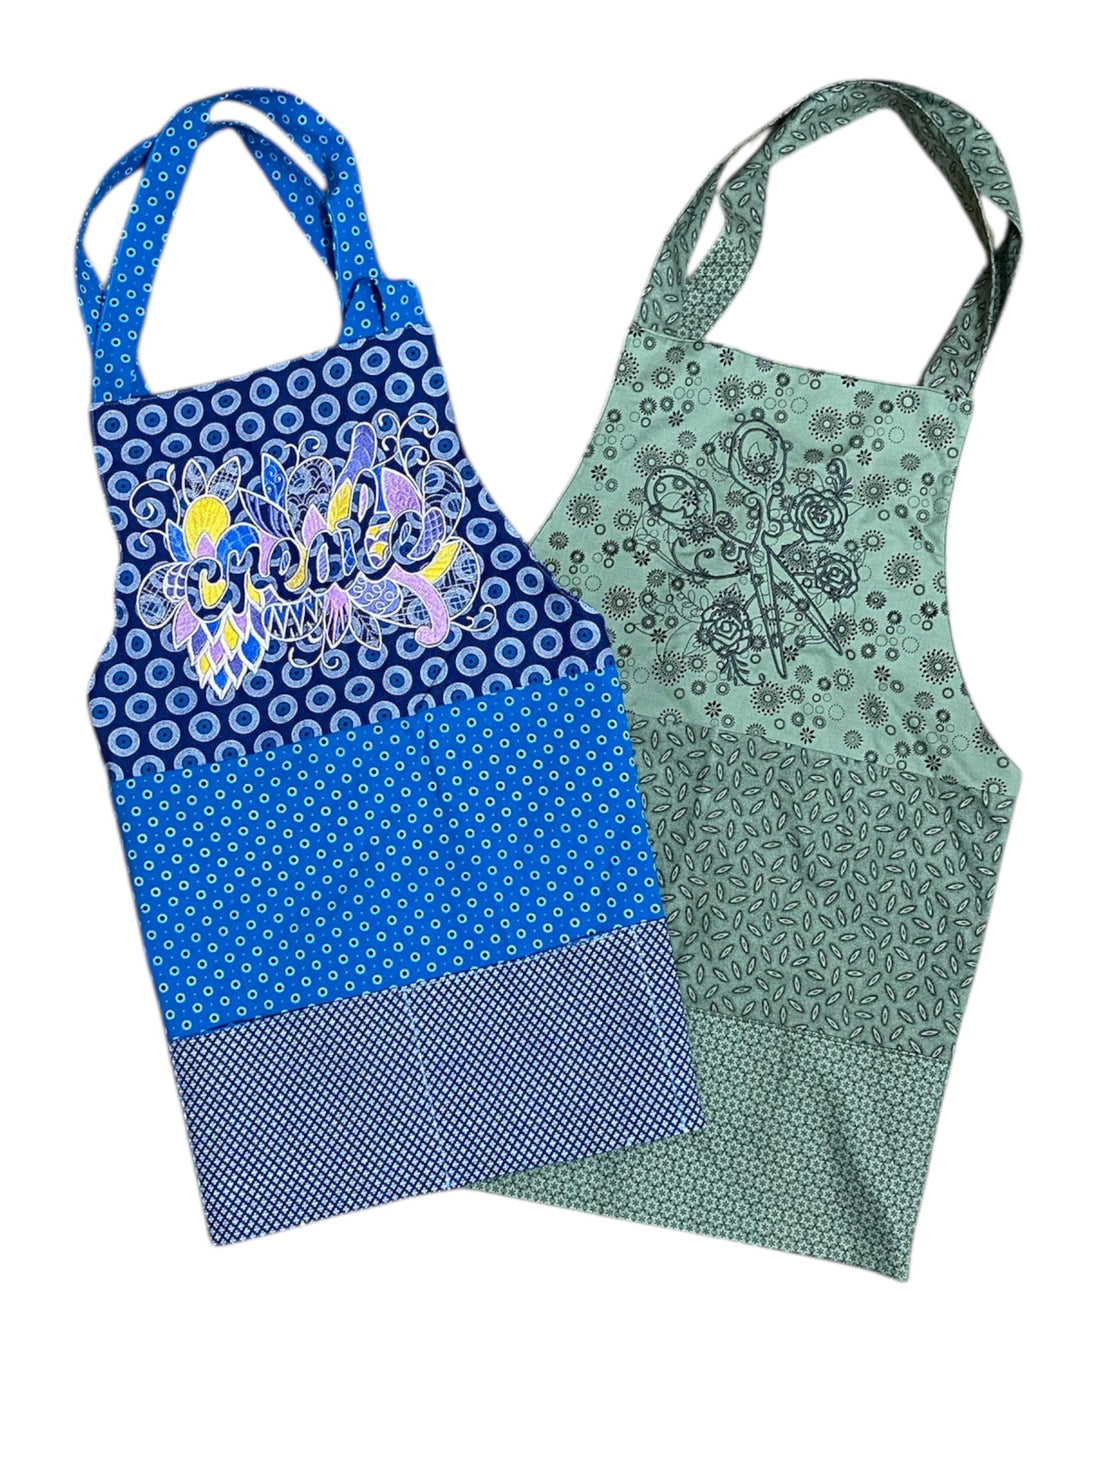
Why You'll Love This Crafter’s Apron Pattern
Beginner-friendly with clear instructions
A perfect DIY gift idea
Great use of scrap fabric or fat quarters
Cross back ties
Adds handmade charm to your sewing room, craft studio, or kitchen
Let’s get started!

What You'll Need:
Fabric A: 13" x 27" (if you're using scraps, make patchwork until you reach this size)
Fabric B: 21" x 32" (make patchwork until you reach this size)
Lining Fabric: 34" x 32" (should I add that you can make patchwork...?)
Fabric for Ties and Loops: ¼ yard
✅ Tip: If using directional fabrics, be mindful of the print direction when assembling your apron.
Tools & Supplies:
Sewing machine
Matching thread
Rotary cutter, cutting mat & ruler
Pins or clips
Scissors
Iron & ironing board
Point turner or purple thang
Tape (basic Scotch tape works great)
Step-by-Step Instructions
Step 1: Make the Apron Template
Print the template and align the squares to get the pattern. Tape this together and cut out the shape. Make sure to print at actual size. Of course you can also use your favourite apron as a template.

Step 2: Create the Apron Ties and Loops

Cut:
Two 50" strips (for apron ties)
Two 3½" strips (for loops)

To finish:
Press ¼" along the edges of each strip.
On the 50" strips, miter the ends and fold.


Press all strips in half lengthwise, then stitch along the open edge.


Step 3: Assemble the Crafter’s Apron Front
Layout your fabrics to check print orientation.
Mark the middle on both rectangles and then align those marks to sew Fabric B to the right side of Fabric A using a ¼" seam allowance. Press.

Step 4: Cut the Apron Shape
Fold the apron front in half and lay the paper template so that the lines align with the seam line and the fold line.
Pin and cut through both layers using scissors or a rotary cutter.
Lay this on top of the lining fabric and use the front as your template to cut the lining.
At this point you can add any embroidery you'd like. Mine are from Embroidery Library.


Step 5: Pin the Loops and Ties
Fold each 3½" strip in half to create loops.
Tuck and pin loops between the front and back at each armpit, ¼" down from the curve.

Align and pin each 50" tie ¼" down from the top corners. Stitch only the loops and tie ends so that you don't have those pins disappearing in the layers of the next step.
Tuck ends inside the apron to avoid catching them during sewing.
Pin around the apron perimeter.
Step 6: Sew the Apron Together
Stitch around the apron with a ¼" seam allowance, leaving a 6" opening at the bottom.
Reinforce loops and ties by backstitching at each point.
Clip the corners for a neat corner when you turn to the right side.

Step 7: Turn, Press & Topstitch
Turn the apron right-side out through the opening.
Press edges flat, pushing out corners with a point turner.
Topstitch around the perimeter, closing the 6" gap as you go.

Step 8: Add Pockets
If you're planning to use this apron in the kitchen, I recommend not folding it over for pockets. It seems a bit short that way, and making it longer would just make the pockets out of reach.
Fold the bottom of the apron upward so 5" of the backing fabric shows on the front.
Pin and mark vertical stitch lines to form pockets.
Stitch in place to secure.

Step 9: Final Touch
Thread the ties through the side loops.
Tie at the back or wrap around the front—and your crafter’s apron is ready to wear!

1 comment
Thankyou❤️🌹