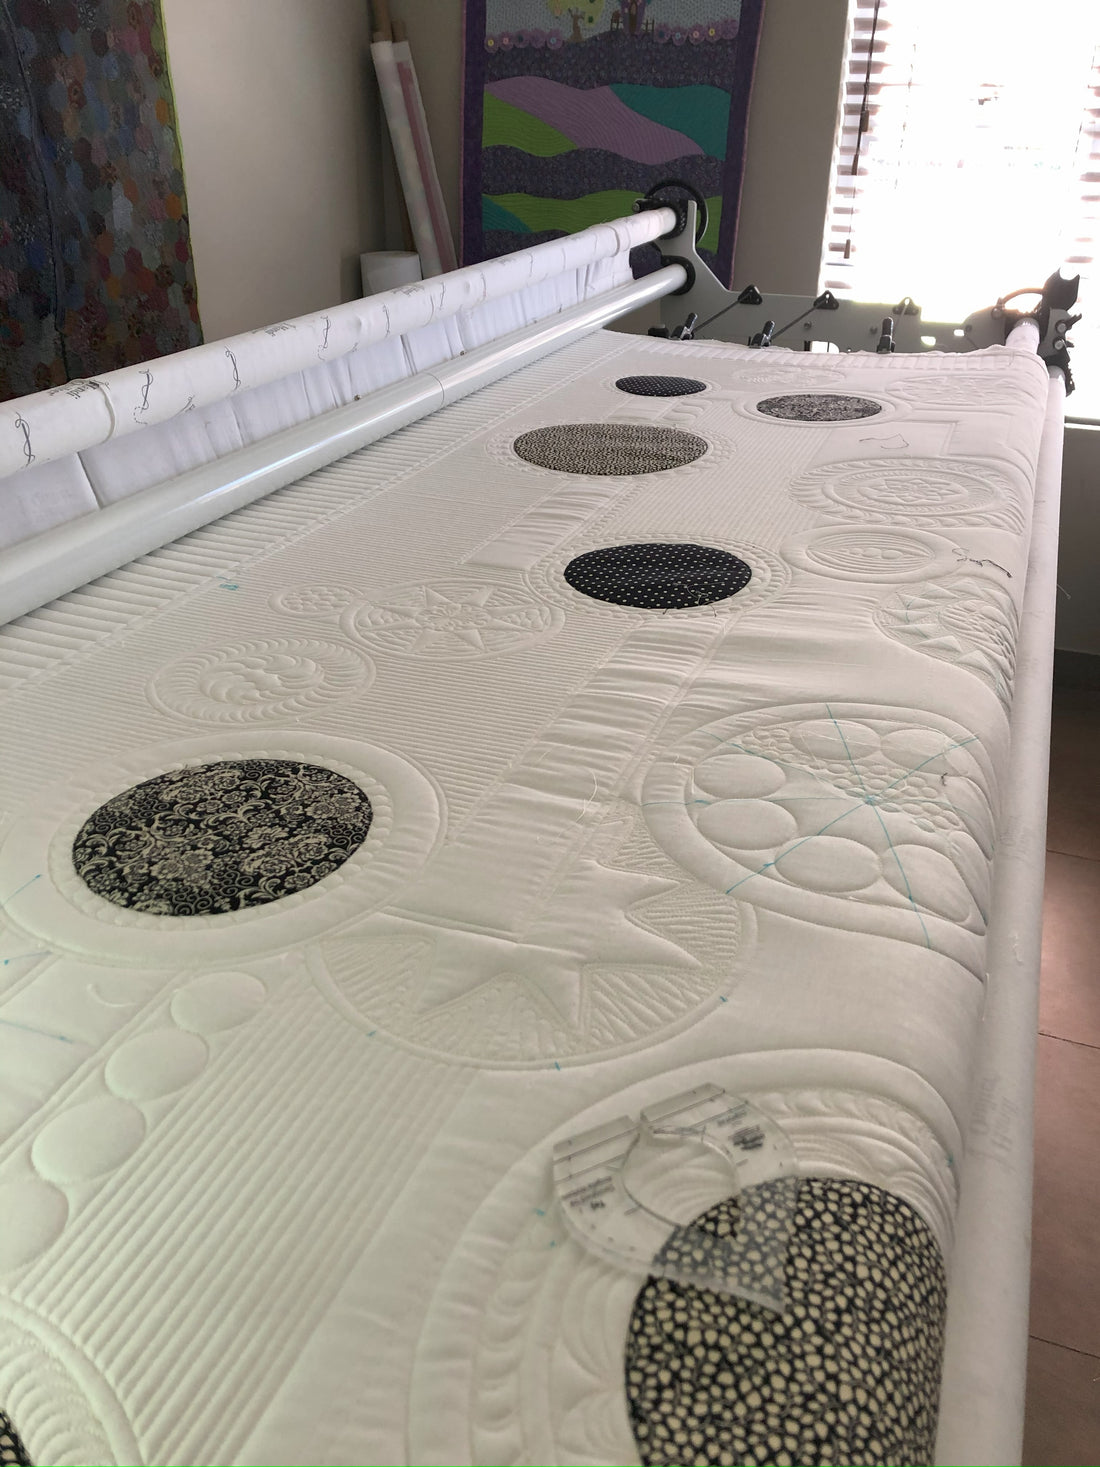
The easiest way to make turnover edge appliqué
Share
Turnover edge appliqué has been around for a long time, with many different methods to do it. Ranging from specialist tools to starch and burning your fingers; I’ve even seen metal rings being used for circles.
You will be so happy that you tried this method. You don’t have to spend money on special tools, everything you need is likely already in your sewing room. But if you need some appliqué paper – I can help you with that!
I did an Instagram video showing you how to do this as well.
Here’s what you need:
- Fabric (of course, you'll need this for the appliqué, but also your project)
- Appliqué paper
- Fabric scissor, nice and sharp
- Paper scissor
- Marking pen - this is going on the appliqué paper so any sharpie. It needs to be visible on the fusible web side of the paper too.
A few simple steps to turnover edge appliqué
|
Step 1: Start by drawing your shape on the paper side of the appliqué paper. |

|
|
Step 2: Stitch the appliqué paper following your drawn lines to the right side of the fabric. The paper side of the appliqué paper should be facing down. |
 |
|
Step 3: Trim your fabric so that you have a ¼” seam |
 |
|
Step 4: Separate the fusible web from the paper, be careful not to tear it. |
 |
|
Step 5: Tear the paper away from your stitching. |
 |
|
Step 6: Cut a few slits into the appliqué paper, but don’t cut the fabric. |
 |
|
A few slits in the paper. |
 |
|
Step 7: Turn the fabric and the appliqué paper inside out through the slits you’ve cut. Take care not to rip the fusible web, nor the paper too much. You need the shape. |
 |
|
Step 8: Baste the edge of the turnover edge appliqué to the shape of the paper. Use your needle to pull any fabric that haven’t folded on the stitch line. |
 |
|
Step 9: Now you can press with a dry iron. Start on the back i.e. the paper side so that you don’t get glue on the ironing board and then do the fabric. |
 |
|
Step 10: Tear the paper away from the web and press to your project. Done! Perfect turnover edge. |
 |
Now, if you’re doing circles, and you have a little pin that you can use on your machine to stitch circles, you can skip the tracing on the paper steps.
|
This little gadget fits into small holes on the base of my machine’s throat. |

|
|
I have two, so I can only make two sizes. The pin will go through the appliqué paper, still with the paper side down on the right side of the fabric. |
 |
|
While holding the pin in place, the machine will simply pull the fabric and stitch a circle. This method will work for all kinds of shapes, but you’ll need to determine where to cut the fabric away or make a slit so that it will turn over smoothly. And I don’t think very small shapes will be as easy. |
 |
