What the heck is a quilt clapper?
Share
Have you ever heard of a tailor's clapper? If not, get ready to meet your new best friend in the quilting world! Let me introduce you to this magical tool and show you how it can take your quilting game to the next level.
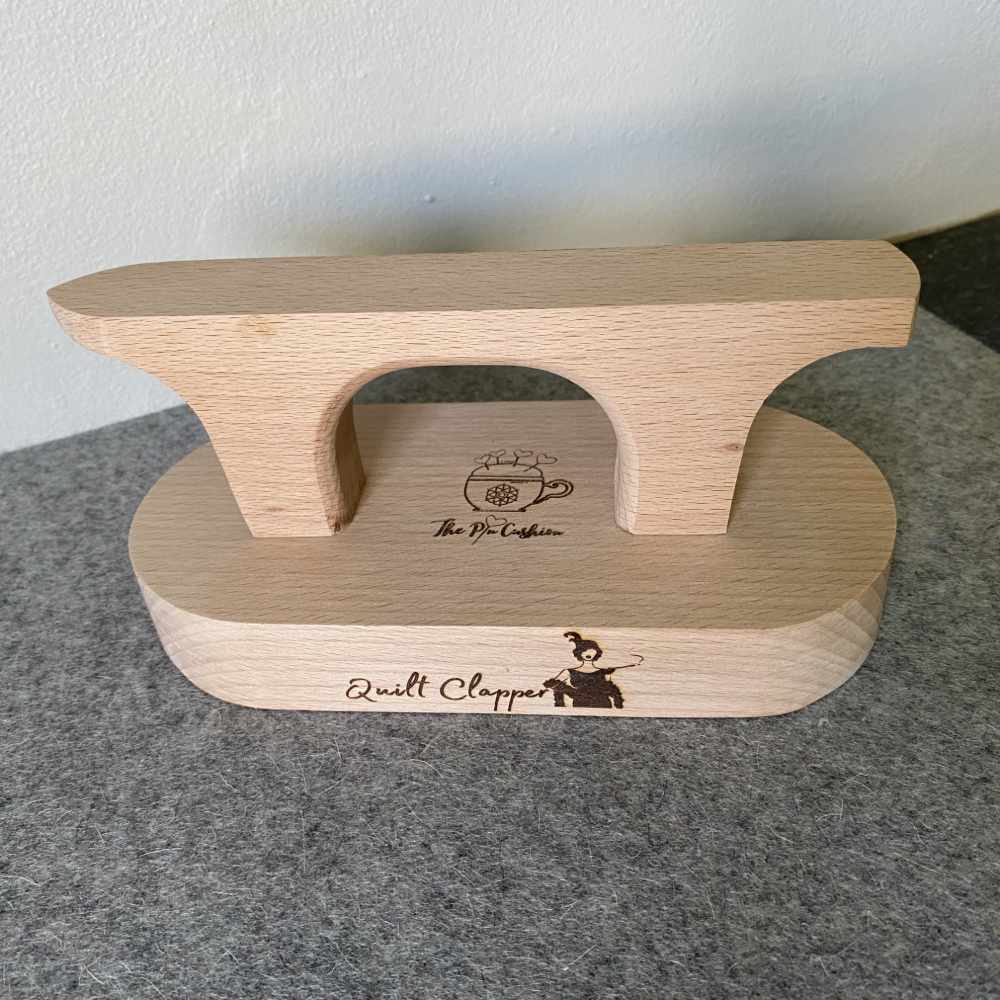
So, what's the deal with a tailor's clapper? Well, it's a simple yet amazing tool made of hardwood, usually maple or oak. Picture a smooth, flat piece with rounded edges – that's your tailor's clapper right there!
Now, let's talk about why this unassuming piece of wood is such a game-changer. When you're sewing quilt blocks together, pesky creases and wrinkles can ruin your hard work. That's where the tailor's clapper swoops in to save the day!
Using it is a breeze. After sewing a seam, just lay it flat on your ironing board, pop the tailor's clapper on top, and press down. The wood absorbs the heat and moisture, setting the seam and leaving you with a crisp, flat finish. It's like magic!

But wait, there's more! This handy tool isn't just for setting seams. It's also great for taming bulky fabrics and tricky materials like silk. Plus, it can help you create sharp creases and folds for all those neat finishing touches on your quilts.
Now, let's get down to business – how do you use it? Easy peasy:
- Sew your seam like you normally would, making sure it's nice and straight.
- Lay the seam flat on your ironing board with the wrong side facing up.
- Pop your tailor's clapper on top of the seam, right over the stitched line.
- Give it a good press, applying firm but gentle pressure.
- Hold it there for a few seconds to work its magic.
- Lift it up and admire your beautifully flat seam!
- Repeat for any other seams or quilt blocks that need some love.
With your tailor's clapper by your side, you'll be amazed at how much smoother and more professional your quilting projects look. So, next time you're in the sewing room, don't forget to grab your trusty tailor's clapper – your quilts will thank you for it!